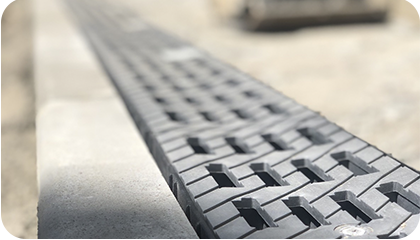
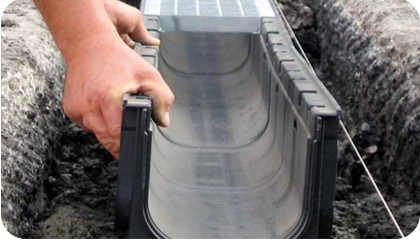
For the system of surface drainage was 100% effective, it is necessary not only to choose a drainage trays, but also the right to make their installation.

Today, many are turning to highly skilled professionals, but there are some consumers who prefer to do everything yourself.
Below we list You the basic guidelines for installing it plastic drainage gutters, which are often used in the private and civil construction.
The recommendations may for many seem very simple, but they work!
- The trench width should always be greater than the width of the tray
- Be sure to create a slope of not less than 10 mm
- Base – sand-gravel cushion with the obligatory pouring concrete foundations and walls to prevent freezing of the plastic tray in the winter and cracking
- Selection of trays for bandwidth on a particular object
- Installation of drainage for 3-5 mm below surface level
- Connection of trays back to back with mandatory use of gasket sealant in the joints
- When cutting the tray you need to use the grinder with the diamond grinding simultaneously with the capture of 2 of the walls
- Connection to sewage to produce over the sand. If it is not used in the system, then through a vertical pipe. To make drilling the plugs using a drill with a nozzle 8mm and gently knock with a hammer tapping method
 Required before pouring concrete to put on the grill or install the strut width for the further avoidance of deformation of the tray
- On the sides of the tray installed fasteners and spacers before pouring side faces of the concrete cage.
- When paired with concrete floors or tiles, it is necessary to arrange waterproofing the seams. And when asphalt is unacceptable, hitting the paver to line the trays
- For long-term use of the system must properly take care of it – time to remove sediment and debris from the system using brushes or shovels. To do this, you must first dismantle the grates. To prevent icing, use electrical cable in the cold season (a cable with a diameter of 4mm and a capacity of 18-30 watts).